


This guide shows you how to deploy a BigCommerce backed application on Edgio.
What is BigCommerce?
BigCommerce is an API driven ecommerce platform. Used by some of the biggest brands on the planet, BigCommerce provides solutions for B2B, wholesale, omnichannel, offline to online, international and multi-storefront. They provide deep integrations to social media platforms and have a robust partner network of technology and integration partners.
Example
This example is a Next.js app powered by a BigCommerce backend.
System Requirements
Sign up for Edgio
Deploying requires an account on Edgio. Sign up here for free.
Install the Edgio CLI
If you have not already done so, install the Edgio CLI.
1npm i -g @edgio/cli
Setting up a BigCommerce Headless Example
We will go through how to set-up your BigCommerce Storefront and the configuration it requires. There are two paths we can take here to generate a project to start:
- Use our existing example
- Generate a Next.js Commerce project from scratch
If you go with option 1, continue to the Storefront setup section.
Generate a Next.js Commerce Project
- Clone the official Next.js Commerce repository and install the dependencies.
1git clone git@github.com:vercel/commerce.git2cd commerce3yarn4cd site
- Run Edgio
initin the project directory:
1edgio init
Update the Example or Generated Project for use with BigCommerce
Skip to the Storefront Setup section for a detailed explanation on how to setup a BigCommerce site. After that, return to this section to enter values as needed.
- Duplicate
.env.templateand name it.env.localin the project directory. Add your BigCommerce API keys to it. See Storefront setup for how to set these items up.
1COMMERCE_PROVIDER=@vercel/commerce-bigcommerce2BIGCOMMERCE_STOREFRONT_API_URL=https://store-${STORE_HASH}-${CHANNEL_ID}.mybigcommerce.com/graphql3BIGCOMMERCE_STOREFRONT_API_TOKEN=${STOREFRONT_API_TOKEN}4BIGCOMMERCE_STORE_API_URL=https://api.bigcommerce.com/stores/${STORE_HASH}5BIGCOMMERCE_STORE_API_TOKEN=${STORE_TOKEN}6BIGCOMMERCE_STORE_API_CLIENT_ID=${STORE_CLIENT}7BIGCOMMERCE_CHANNEL_ID=${CHANNEL_ID}8BIGCOMMERCE_STORE_URL=https://store-${STORE_HASH}.mybigcommerce.com9BIGCOMMERCE_STORE_API_STORE_HASH=${STORE_HASH}10BIGCOMMERCE_STORE_API_CLIENT_SECRET=${CLIENT_SECRET}
STORE_HASH- Available in the URL bar of your BigCommerce site.CHANNEL_ID- Available in theChannel Manager > Channel / Advanced Settings > Channel DetailsSTOREFRONT_API_TOKEN- The token result from the API call to create a token. This should be a long token.STORE_TOKEN- The API token generated via the BigCommerce API KEY UI. This should be a short token.STORE_CLIENT- The Client ID generated via the BigCommerce API KEY UI.STORE_SECRET- The Client Secret generated via the BigCommerce API KEY UI.
The BIGCOMMERCE_STORE_API_URL should not have the version at the end. The
API KEY UI will show it this way, but do not include it in your environment
variable.
- From root of the project, run the command to start the project:
1npm run dev
Deploy the project
From within the site directory, run
1edgio deploy
BigCommerce Storefront Setup
Login
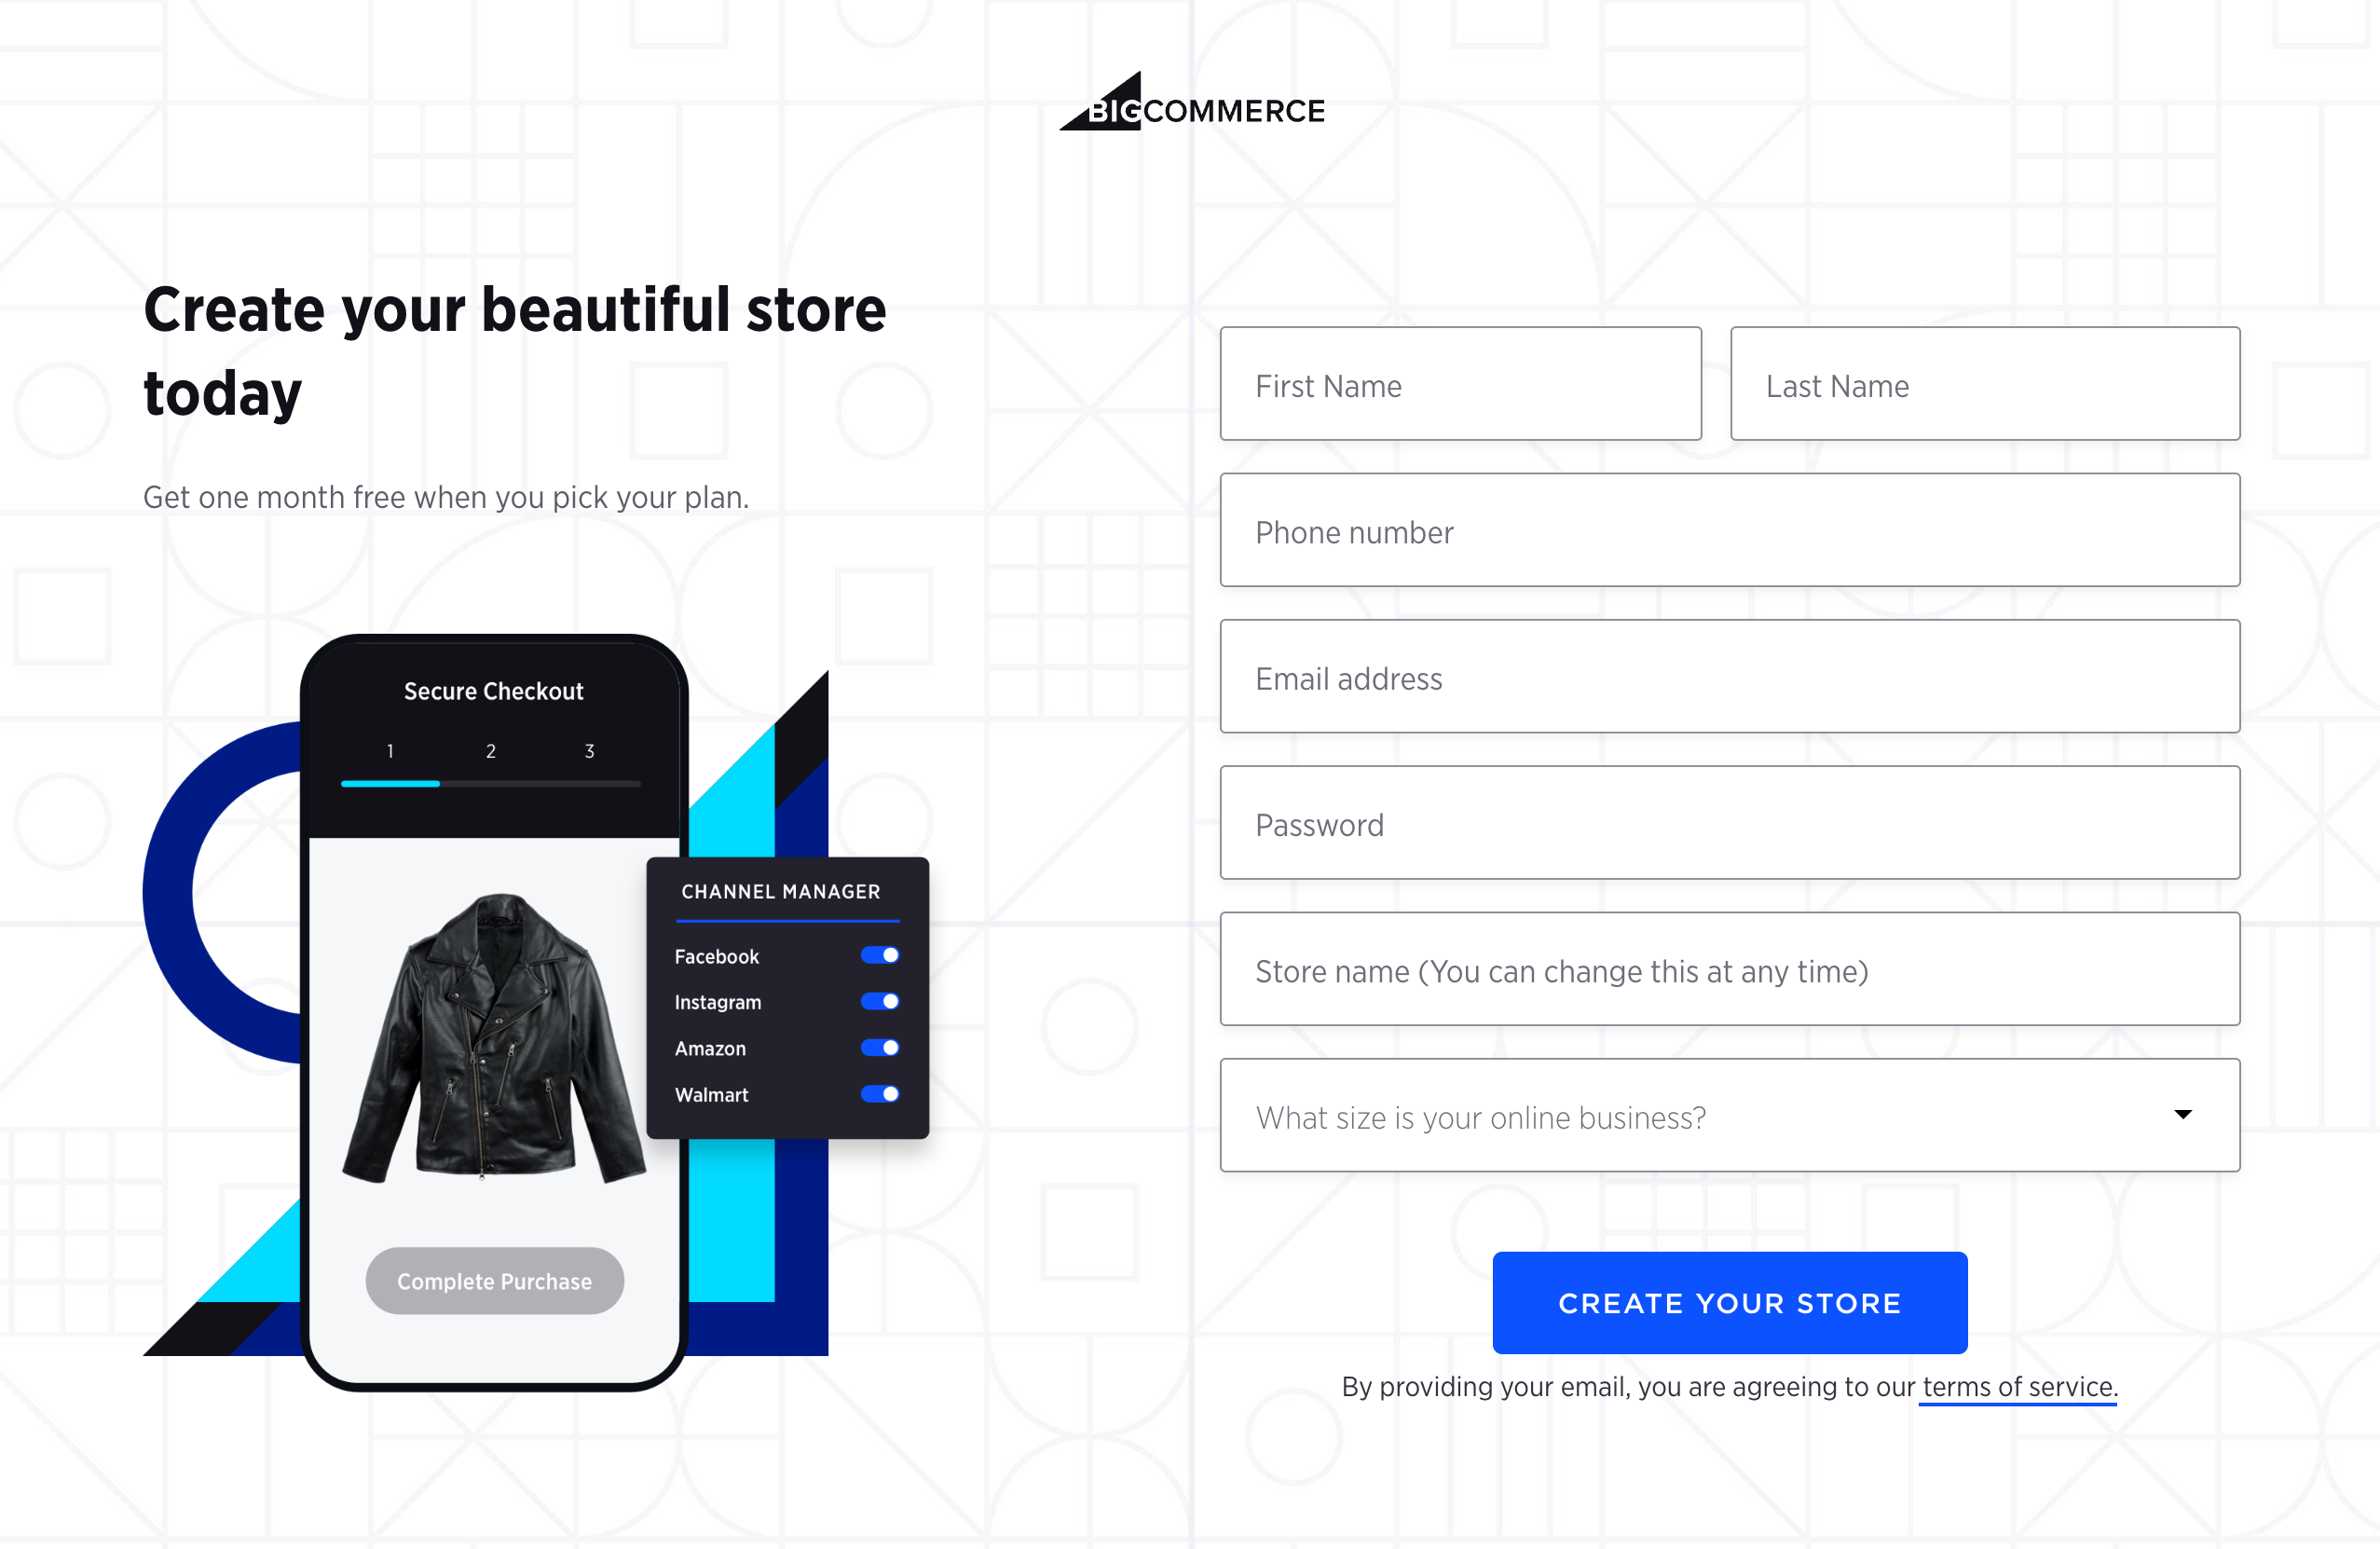
Signup
-
After you have logged in or signed up, we need to generate an API key in order to continue creating the necessary elements to work with BigCommerce.
-
Visit
Advanced Settings > API Accountsand click “Create API Account > Create V2/V3 API Token”.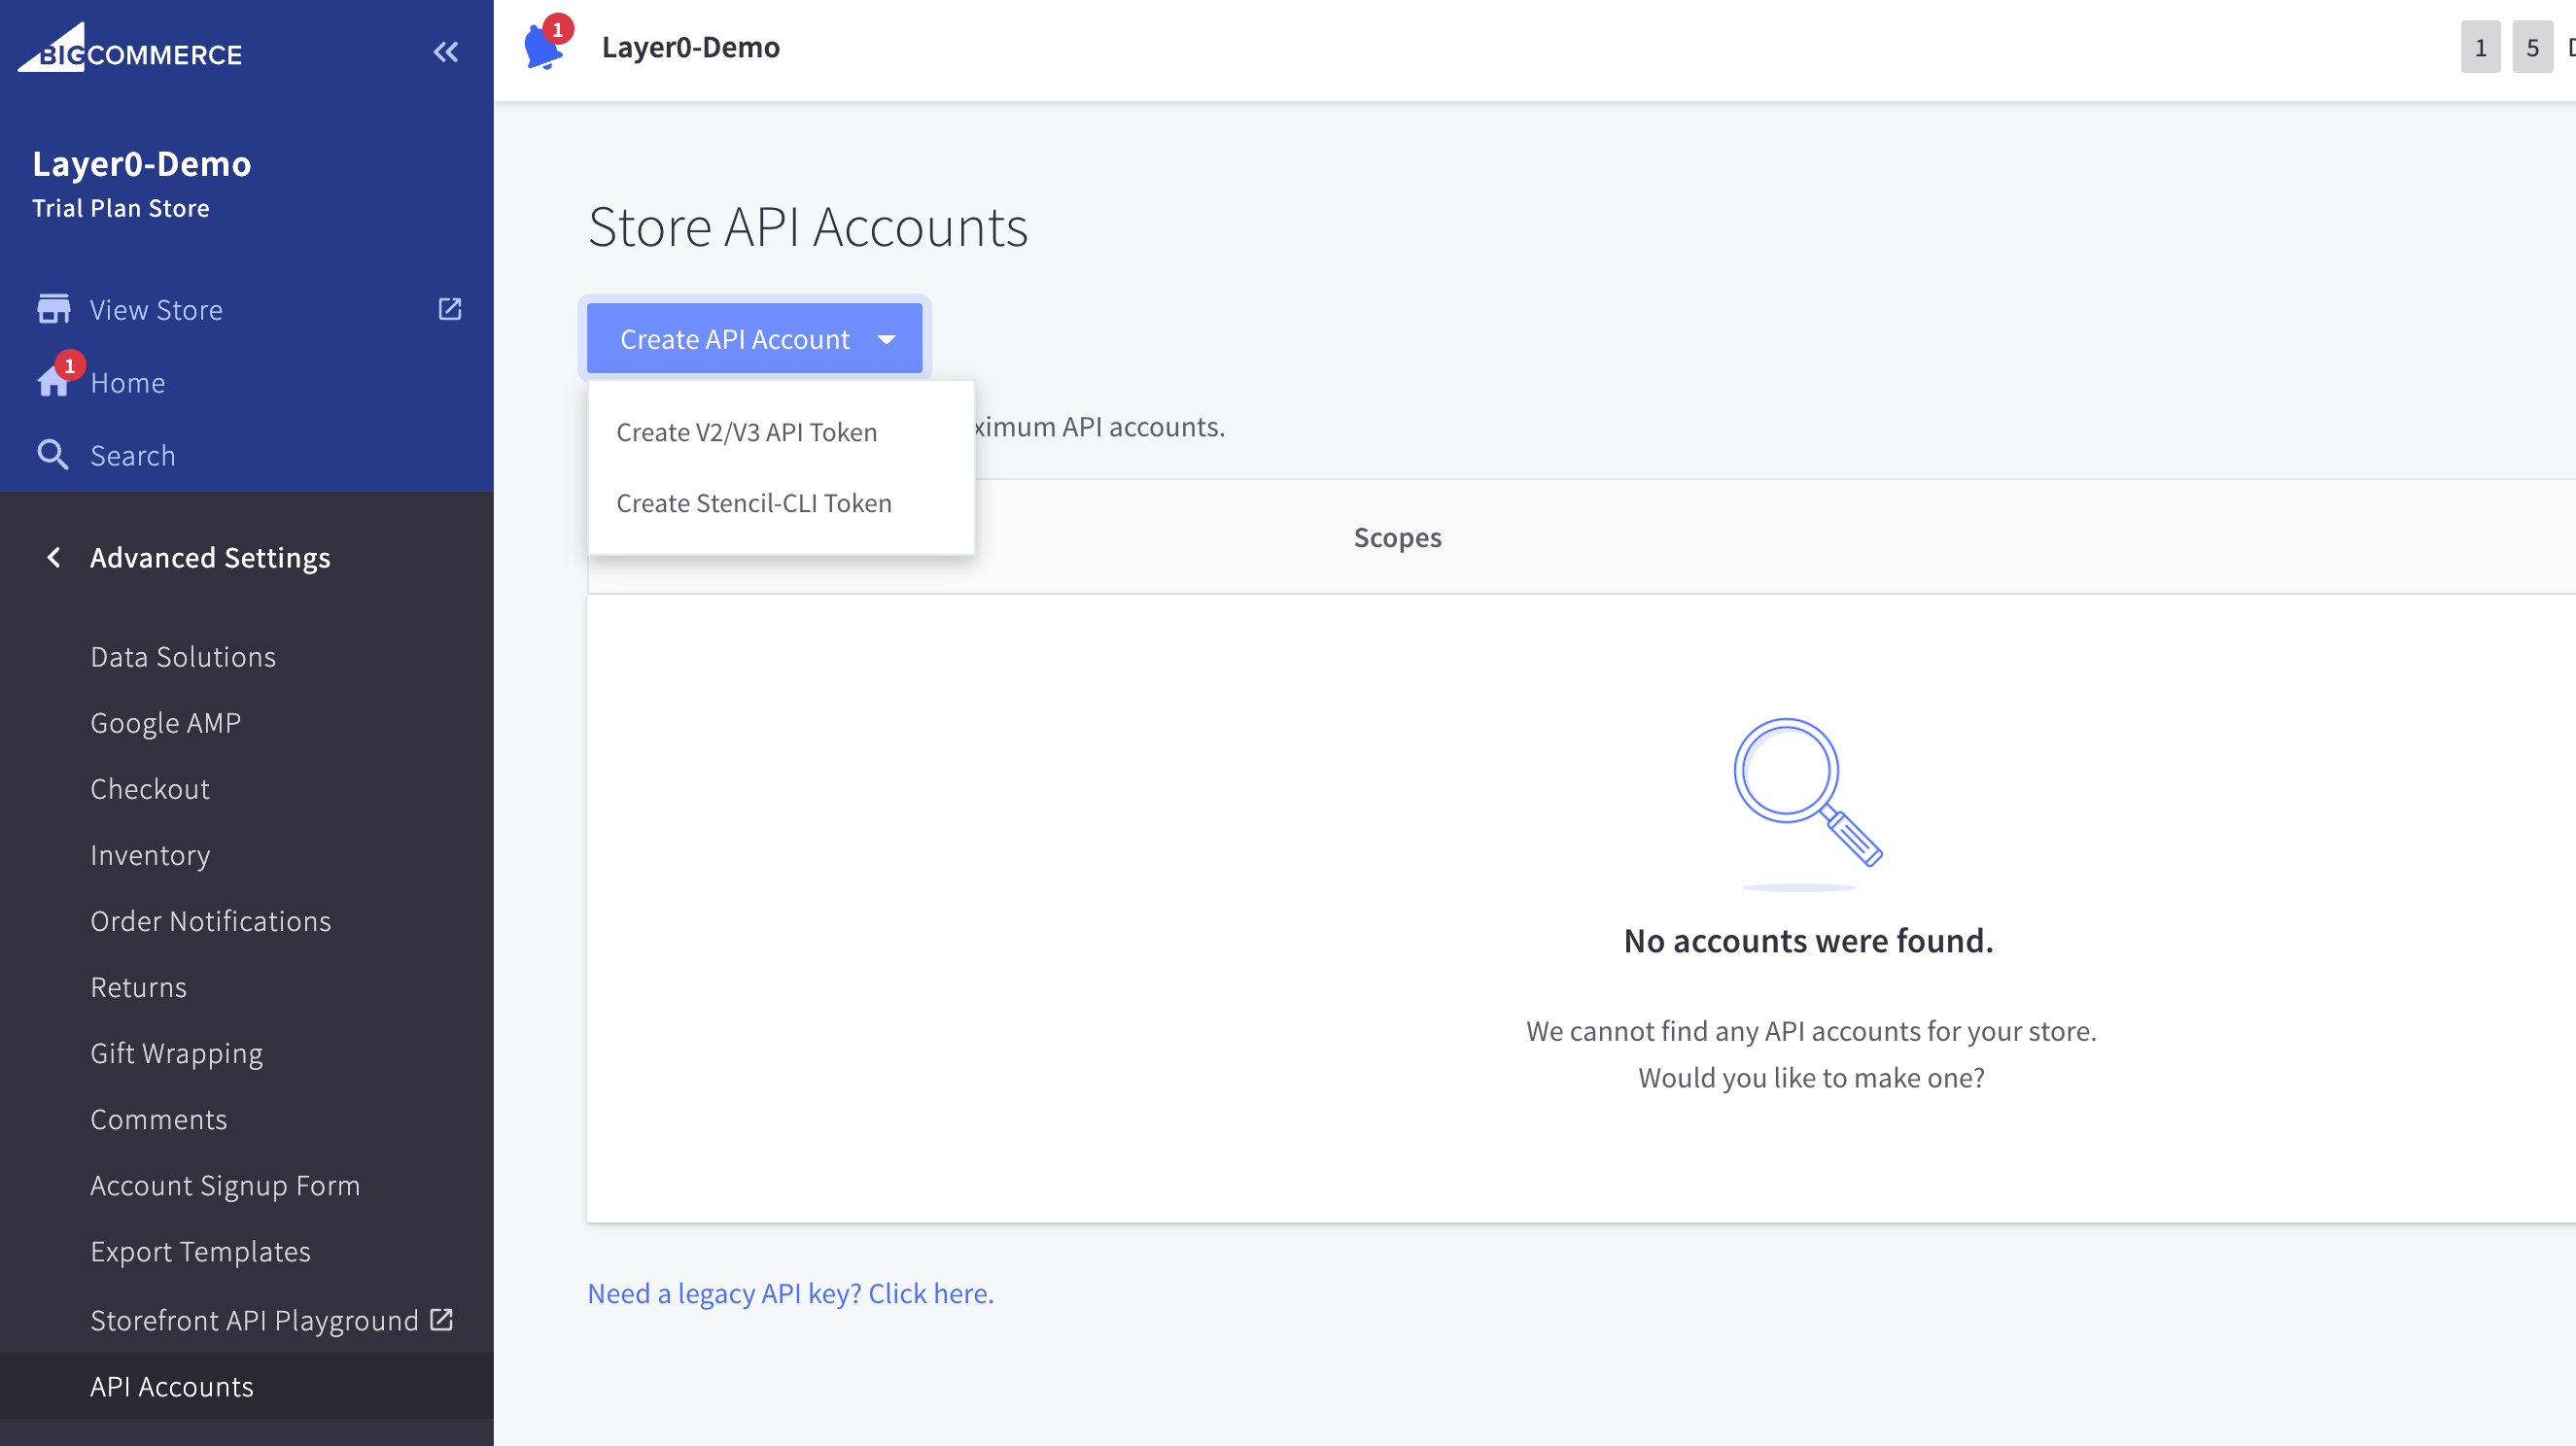
-
Give the token a name and enable all scopes for now.
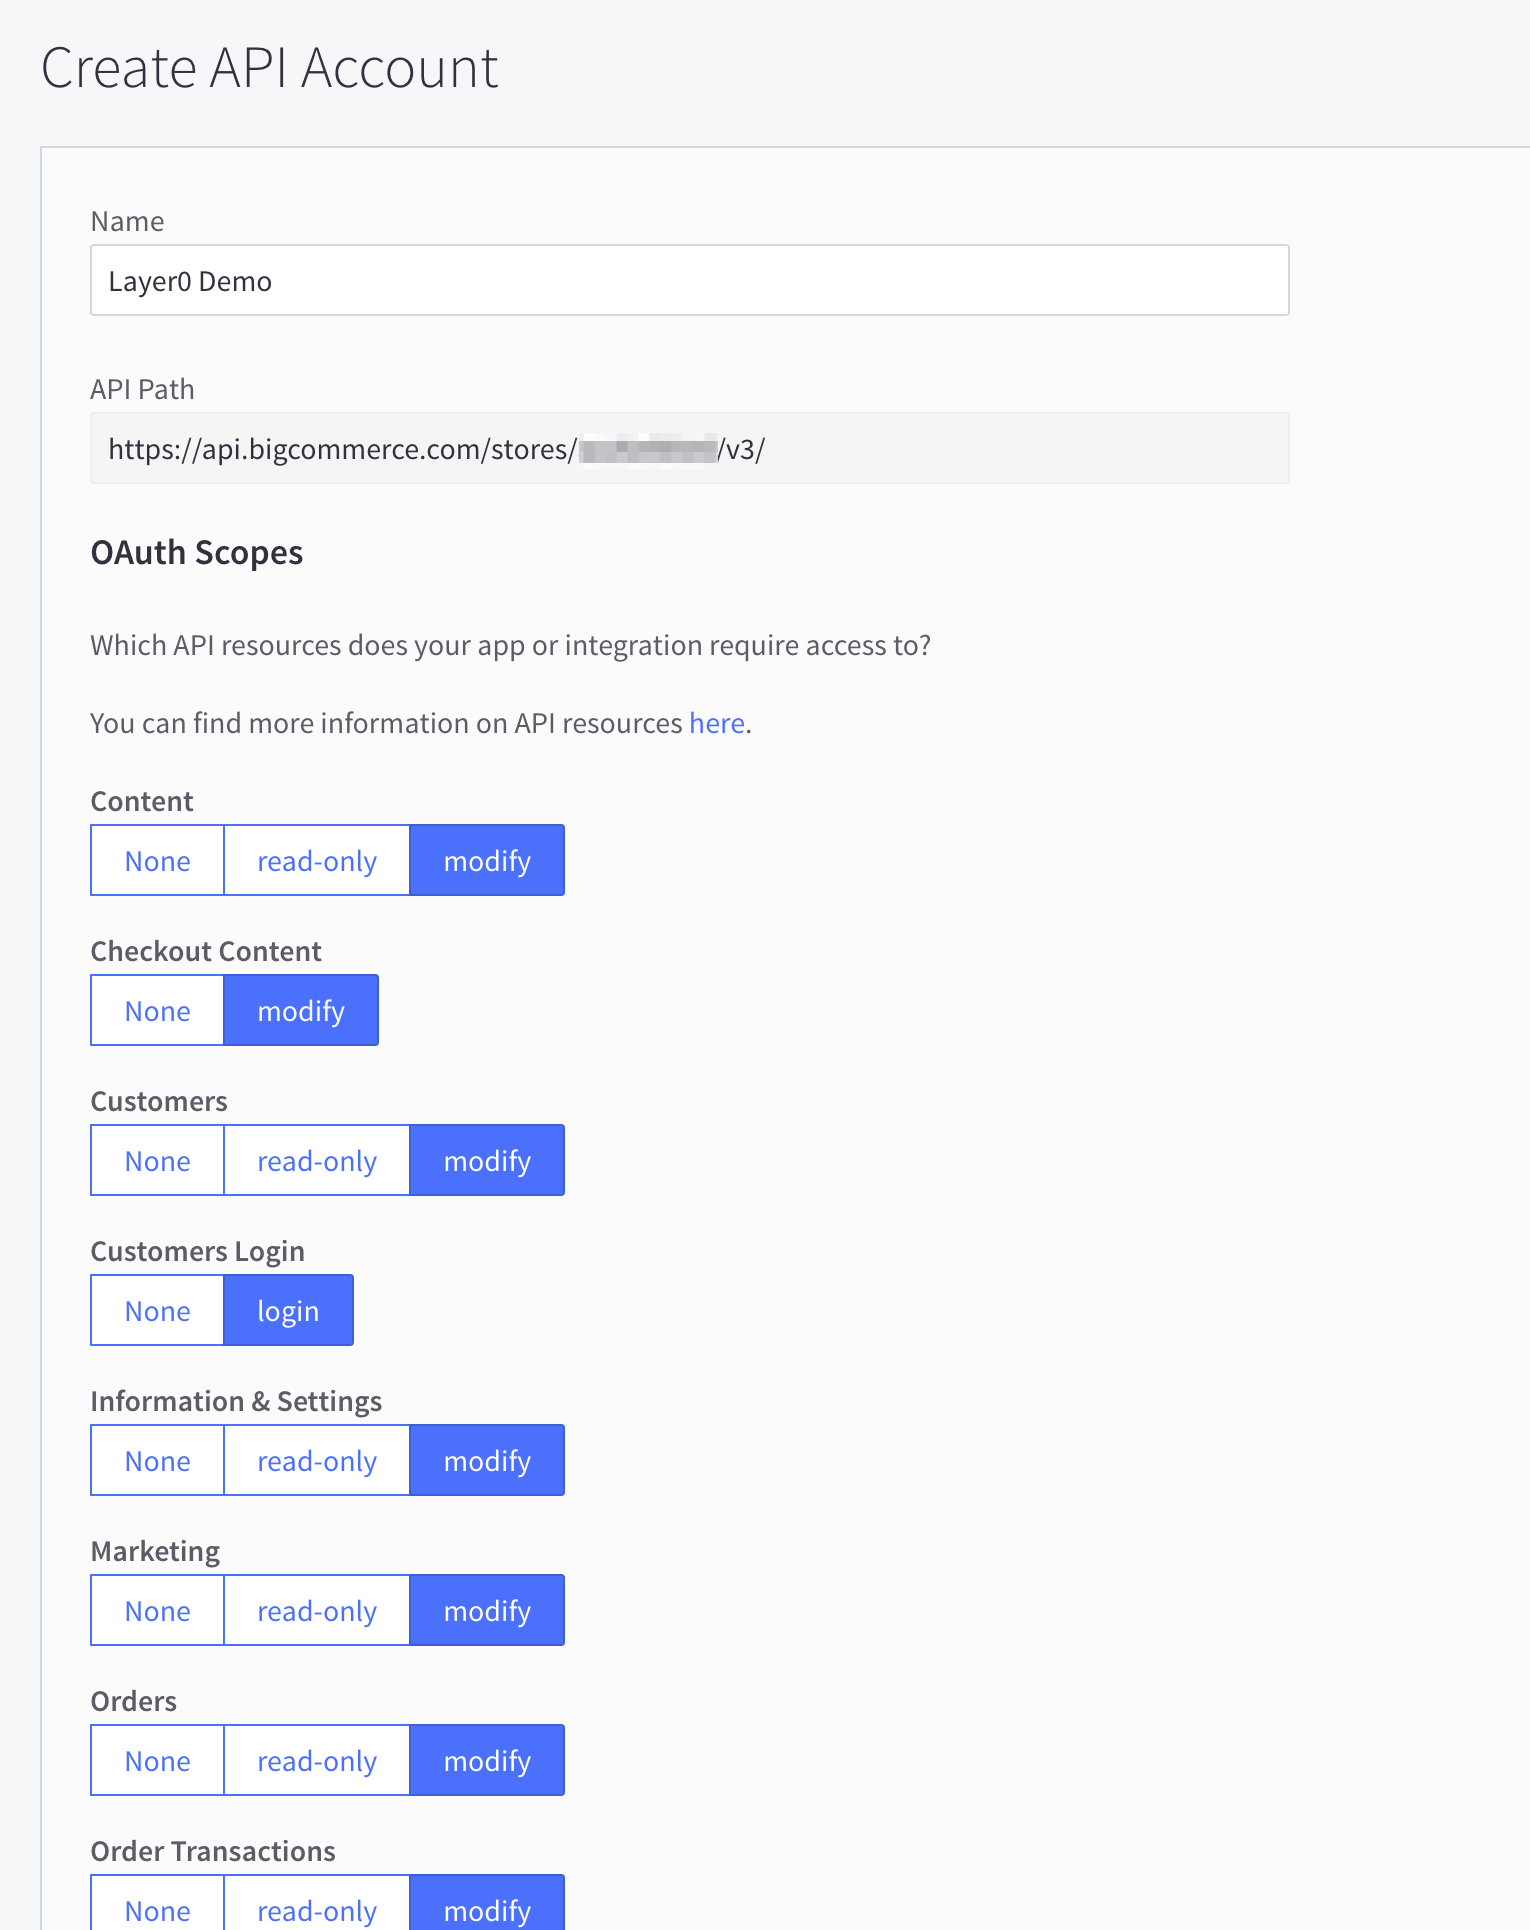
-
Make note of the “API path” and save this somewhere, as we will need this later. It has a pattern of
https://api.bigcommerce.com/stores/{STORE_HASH}/v3/. -
Click “Save”.
-
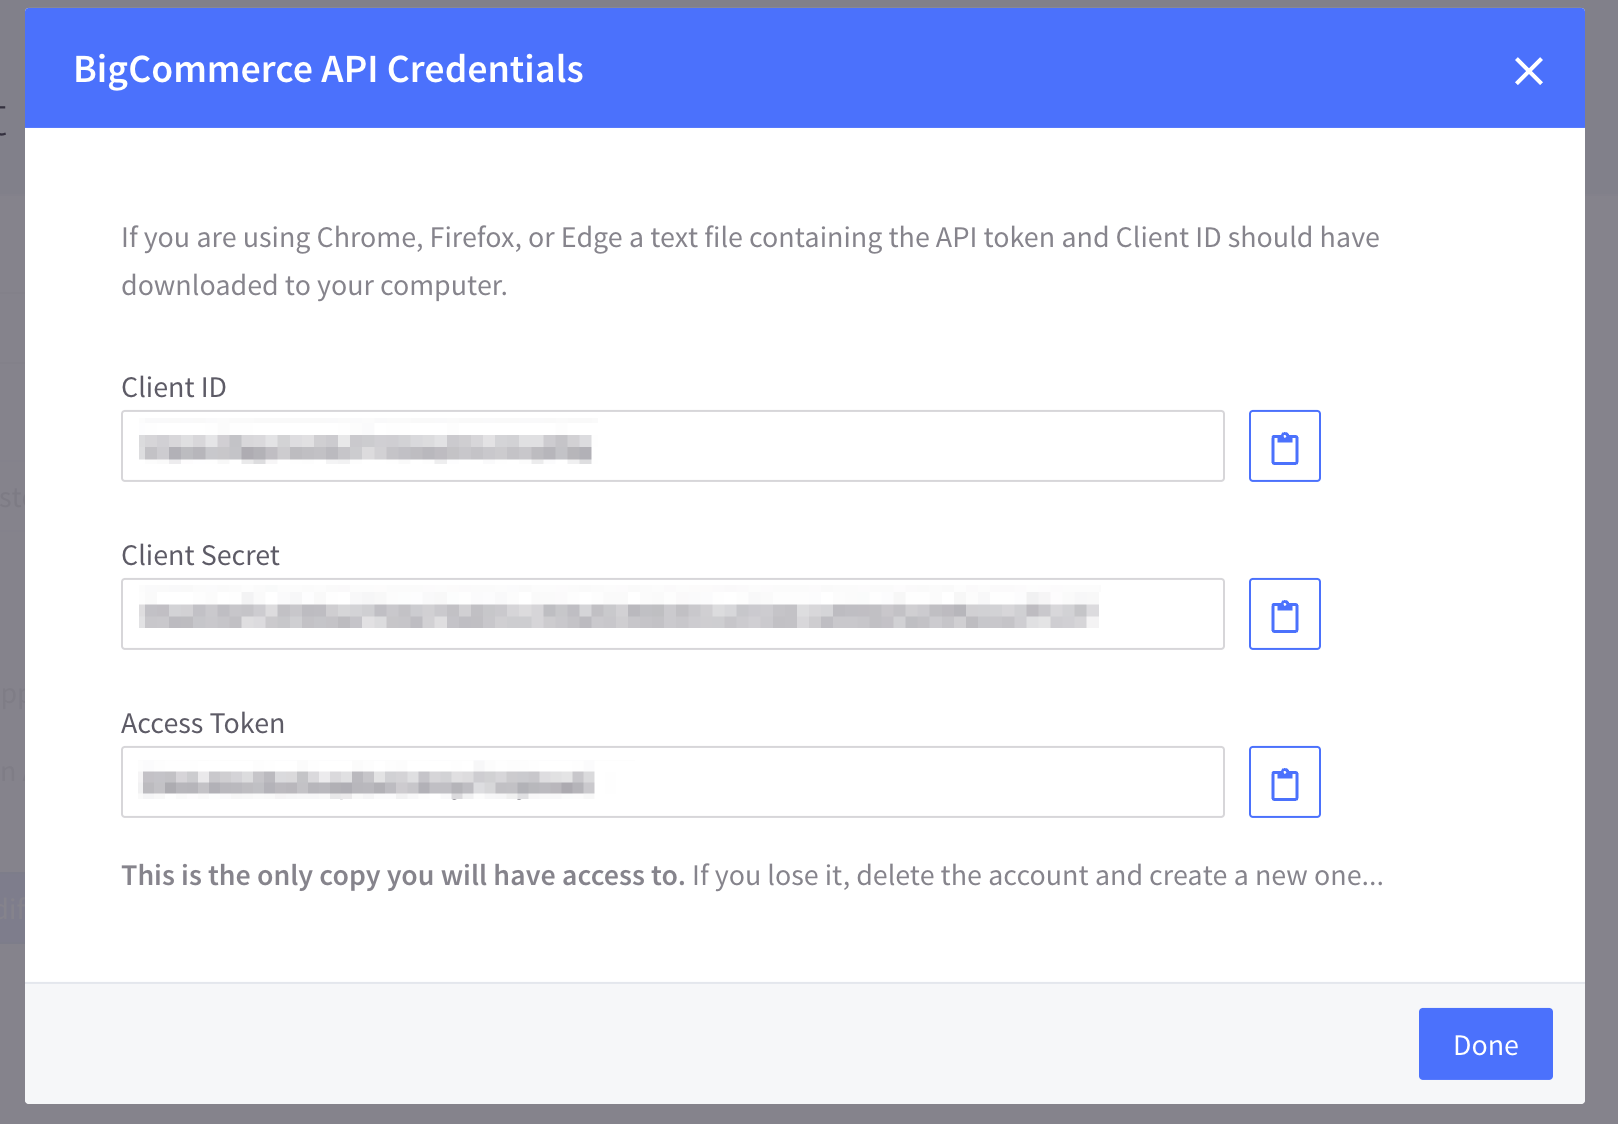
A dialog will appear with the generated API keys. Copy each item for later use. The credentials also get downloaded as a text file.
-
-
Now that we have API credentials, we will be able to interact with the BigCommerce API in order to finish setting up necessary elements.
As of the time of writing this guide, they only support setup via API.
For this next step you will need the store hash (available in the URL bar) and the API token you just created.
- To create a channel we need to issue a
curlrequest to the BigCommerce API. Open the API doc for additional information. Use thecurlbelow, substituting values where needed.
1curl --request POST \2 --url https://api.bigcommerce.com/stores/{STORE_HASH}/v3/channels \3 --header 'Content-Type: application/json' \4 --header 'X-Auth-Token: {API_ACCESS_TOKEN}' \5 --data '{6 "name": "Edgio",7 "platform": "custom",8 "type": "storefront",9 "status": "connected",10 "config_meta": {}11 }'
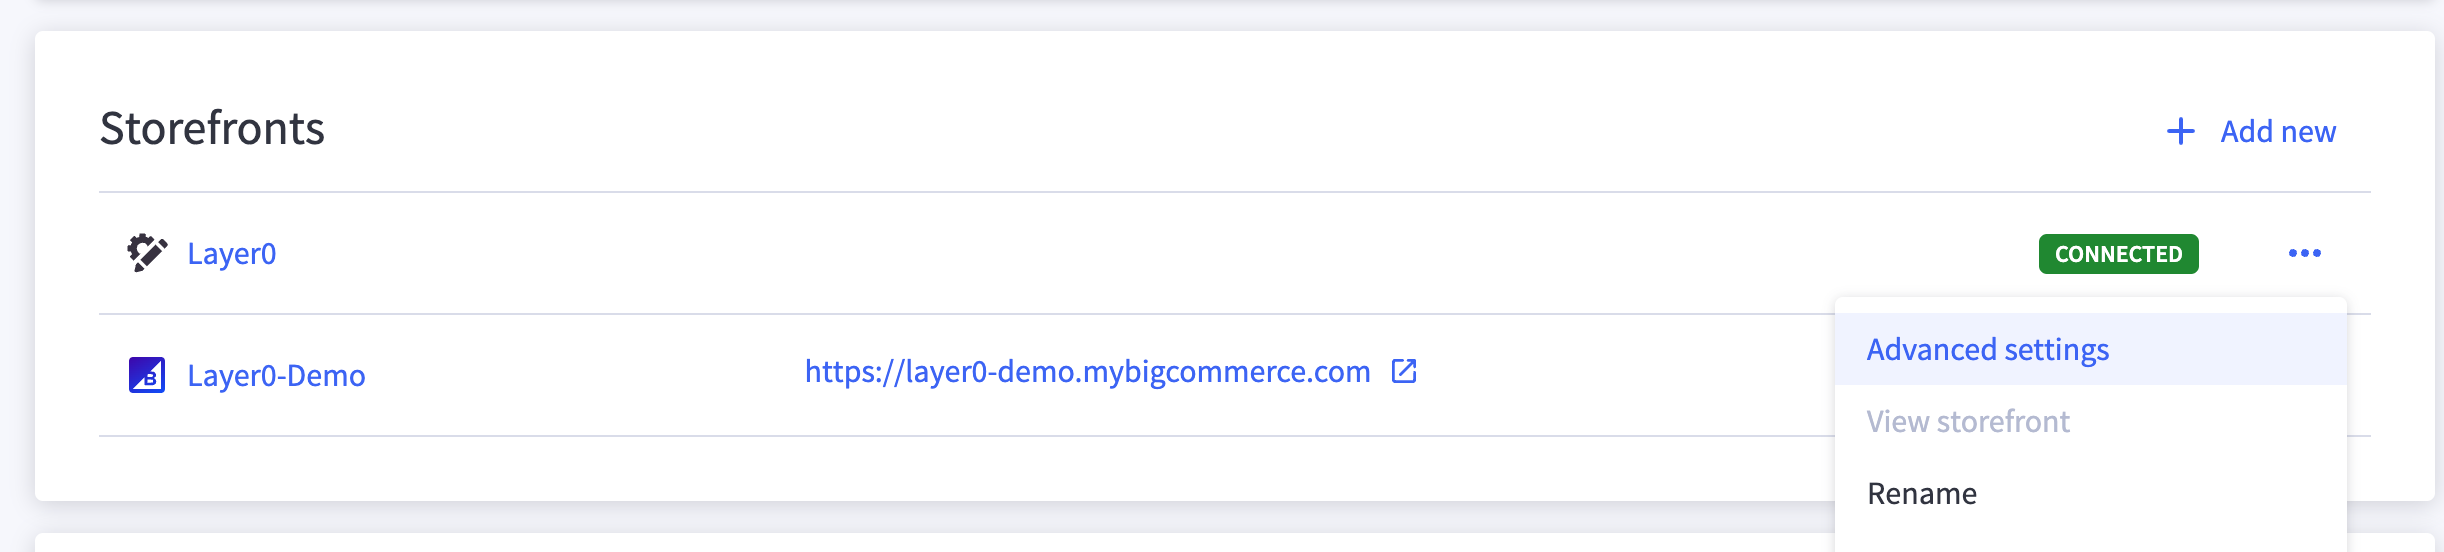
- Visit the “Channel Manager” to view your newly created Channel. Click the triple dot menu and select “Advanced settings”. Make note of the Channel ID for later use in generating a GraphQL API token.
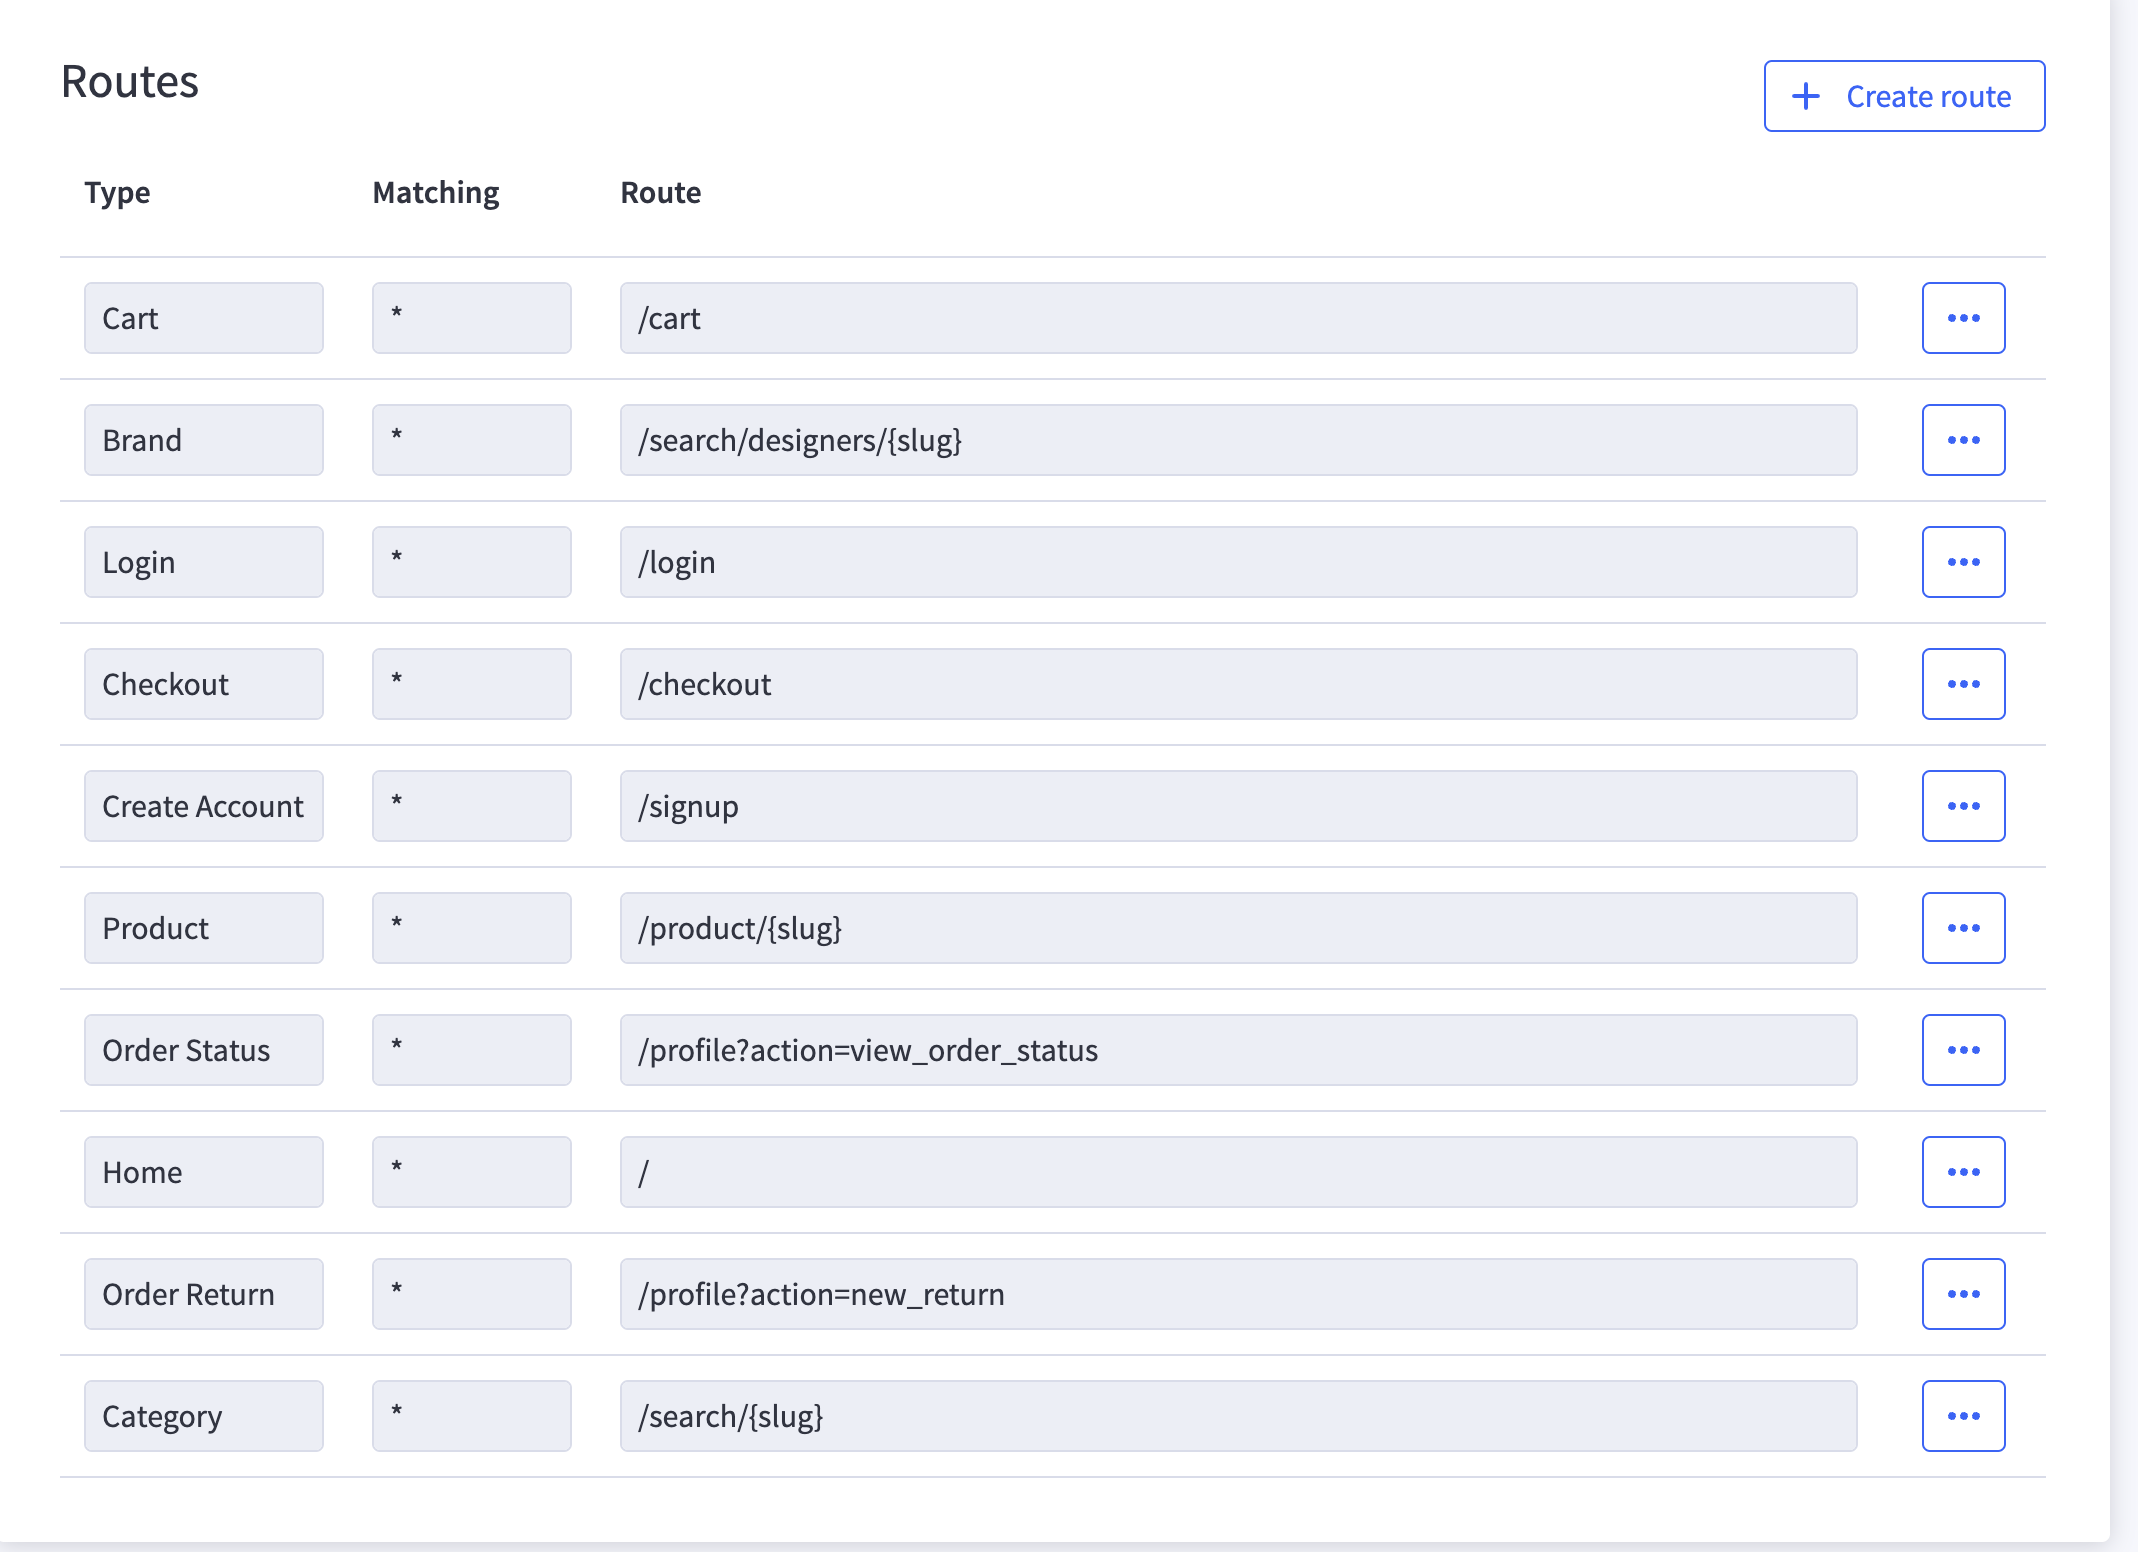
- Click “Create Route” and create routes to match the below routes.
- With a channel and routes created, the last item to use the BigCommerce API for is generating an Auth token for use with the GraphQL API. You will have to revisit this once you have deployed your application for the first time to add the allowed domain. Open the API doc for additional information.
1curl --request POST \2 --url https://api.bigcommerce.com/stores/{STORE_HASH}/v3/storefront/api-token \3 --header 'Content-Type: application/json' \4 --header 'X-Auth-Token: {API_ACCESS_TOKEN}' \5 --data '{6 "channel_id": {CHANNEL_ID},7 "expires_at": 1620766652, // change this to a time in the future. To generate in Javascript: new Date("2022-12-31").getTime()8 "allowed_cors_origins":9 ["https://www.yourstorefront.com"]10 }'
Save the token response for use in your environment variables.