


RTLD may automatically deliver compressed log data to Sumo Logic by submitting HTTPS POST requests to it. Sumo Logic will collect these requests as they are pushed from the CDN. Each request represents a compressed JSON document that describes one or more log entries.
Key information:
- The format for log data delivered to Sumo Logic is JSON Lines. This log format does not provide information that uniquely identifies a set of log data. As a result, there is no way to check for gaps in sequence numbers when attempting to identify missing log data.
- The set of available log fields varies by RTLD module: RTLD CDN | RTLD Rate Limiting | RTLD WAF
To set up Sumo Logic log delivery
-
Set up Sumo Logic to listen for CDN log data in JSON format.
-
Log in to Sumo Logic.
-
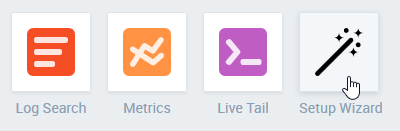
Click Setup Wizard.
-
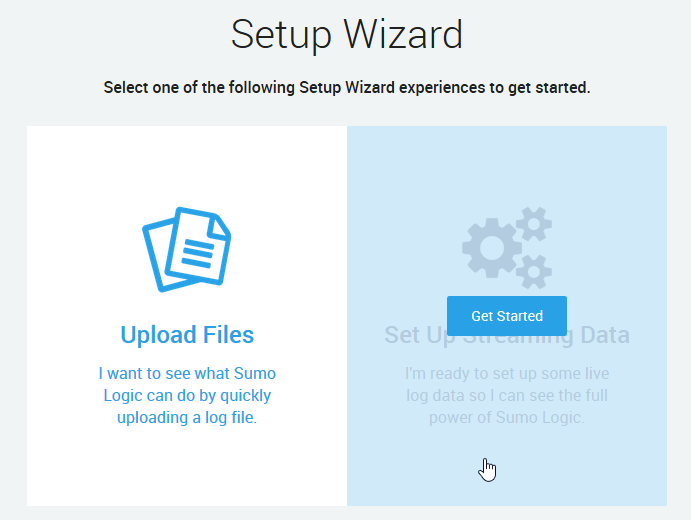
Click Set Up Streaming Data.
-
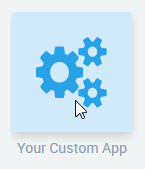
Click Your Custom App.
-
Click HTTP Source.
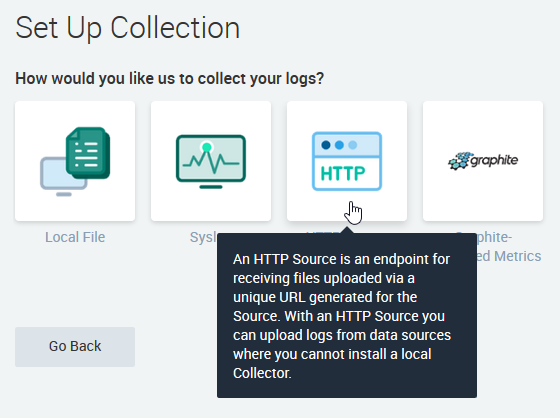
-
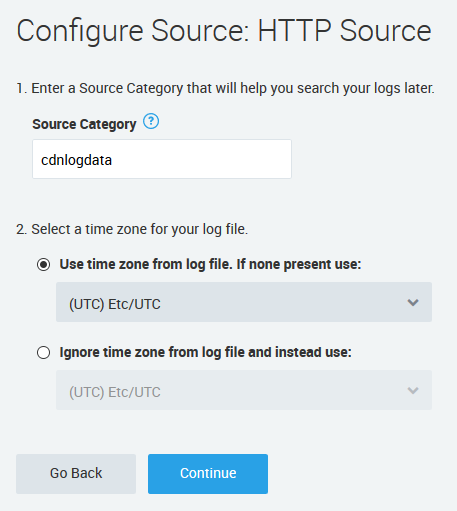
In the Source Category option, type the name of the tag that will be applied to CDN log data. This tag may be used to search for CDN log data within Sumo Logic.
-
Click Continue. An HTTP Source for CDN log data will be created.
-
Copy the URL associated with this HTTP Source.
-
-
Upon completing the above steps, you should create a log delivery profile for Sumo Logic.
To set up a log delivery profile
-
From the Real-Time Log Delivery CDN page, click + New Log Delivery Profile.
-
Open the desired property.
- Select either your private space or a team space.
- Click on the desired property.
-
From the left pane, click on the desired environment.
-
From the left pane, click Realtime Log Delivery.
-
-
From the Profile Name option, assign a name to this log delivery profile.
-
From the Log Delivery Method option, select
Sumo Logic. -
Define how RTLD will communicate with Sumo Logic.
In the Sumo Logic URL option, paste the URL associated with your HTTP Source.
-
From the Log Format option, select whether to format log data using our standard JSON format, as a JSON array, as JSON lines, or as a CSV (RTLD CDN only).
Learn more: RTLD CDN | RTLD Rate Limiting | RTLD WAF
-
From the Downsample the Logs option, determine whether to reduce the amount of log data that will be delivered. For example, you may choose to only deliver 1% of your log data.
-
All Log Data: Verify that the Downsample the Logs option is cleared.
-
Downsampled Log Data: Downsample logs to 0.1%, 1%, 25%, 50%, or 75% of total log data by enabling the Downsample the Logs option and then selecting the desired rate from the Downsampling Rate option.
Use this capability to reduce the amount of data that needs to be processed or stored within your web server(s).
RTLD CDN Only: Downsampling log data also reduces usage charges for this service.
-
-
Determine whether log data will be filtered.
-
By default, all log fields are enabled on a new log delivery profile. Clear each field for which log data should not be reported. Adjust the set of log fields that will be included within this log delivery profile from within the Fields section.
Log fields are categorized. You may add or remove individual fields by expanding a category and then marking or clearing specific log fields. Alternatively, add or remove all of the log fields associated with a category by marking or clearing the desired category.
RTLD CDN Only: You may also log request headers, response headers, and cookies by adding them through the Custom Request Headers, Custom Response Headers, and Custom Cookies options.i
You may either select the name of the desired header or cookie, or type its name and then press
ENTER. Click on the list to add additional headers or cookies. Remove a header or cookie by clicking on itsx.Although other settings take effect quickly, it may take up to 90 minutes before data for custom request/response headers and cookies is logged.
TODO: Verify
-
Click Create Log Delivery Profile.
Filtering Log Data
Filter log data to only include relevant information and to reduce the amount of data being ingested. Filtering options vary by RTLD module.
An alternative method for reducing the amount of log data sent to your destination is downsampling. However, downsampling log data is indiscriminate, while filtering allows you to target the set of traffic that is most relevant to your business needs.
Filtering RTLD CDN Log Data
You may filter by:
-
Hostname: Filter log data to only include traffic directed to the desired hostname(s). Set up hostname filtering within the Filter by Hostname section.
-
Filter log data by one or more hostname(s) by:
- Determine whether log data will be filtered to include or exclude requests to the selected hostname(s) by selecting either Matches or Does Not Match, respectively.
- Click within the Hostnames option and select the desired hostname(s).
Filter the list by typing the entire or partial hostname. For example, typing
cowill filter the list to include all hostnames that containco(e.g., cdn.example.com and corp.example.org). -
Upload all log data regardless of hostname: Verify that a hostname has not been defined within the Hostnames option.
Remove a hostname by clicking on its
x.
-
-
User Agent: Filter log data to only include traffic that was requested by a client whose user agent matches a RE2-compatible regular expression pattern. Set up user agent filtering within the Filter by User Agent option.
-
Filter log data by user agent: Type a RE2-compatible regular expression pattern that identifies the set of user agents by which log data will be filtered.
-
Upload all log data regardless of user agent: Set it to a blank value.
-
-
Status Code: Filter log data to only include traffic for specific status code(s). Set up status code filtering within the Filter by Status Code section.
-
Filter log data by status code: Select each status code class (e.g.,
2xxor3xx) for which log data will be delivered. -
Upload all log data regardless of status code: Verify that a status code class (e.g.,
2xxand3xx) has not been defined within this option.Remove a status code class by clicking on its
x.
-